Flying Geese |
There are many rulers available that are designed to assist with making flying geese. My favorites are the Wing Clippers from Studio 180 Designs. However, a special ruler isn't necessary to successfully make these units. Any regular ruler that is large enough for the size unit you are making will work. I believe the true keys to success are to sew straight seams and to make the units over-sized and trim them down.
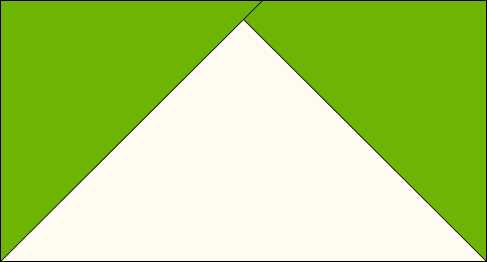
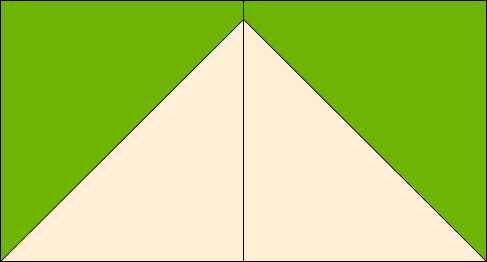
There are several ways to make flying geese. You can make one at a time, four at a time or with a single seam. I prefer the four at a time method that has little wasted fabric. This method, along with the others, is described below. Understanding the components of a flying geese unit can help you know what size pieces are needed to create one. You can make a faux flying geese unit by using two half-square triangle units. So the two side pieces are half-square triangles. But what is the center piece? It helps to remember that we would prefer not to have bias edges on the outside of the unit. That means only one side of the triangle is on-grain. It is easy to get a triangle of that sort by taking a square and cutting along both diagonals. You get four triangles with one side on-grain. These are quarter-square triangles. So the center piece is a quarter-square triangle. The finished size of a flying geese unit is always twice as wide as it is tall. Examples of possible finished sizes are 1" x 2", 2-1/2" x 5", 3" x 6", etc. The unfinished sizes are large by 1/2" in each direction so the unfinished sizes for the examples would be 1-1/2" x 2-1/2", 3" x 5-12/", 3-1/2" x 6-1/2", etc. The finished size is used to determine the size of the pieces to cut. Single flying geese unit using 3 triangles Let's make a single flying geese unit with a finished size of 2" x 4". For the end pieces, you will need 2 half-square triangles. For a finished 2" HST, you cut a 3" (= 2" finished + 1" for seams) square. When you cut the 3" square in half along a diagonal, you get the two triangles needed for the ends. For the center piece, you would cut a 5-1/2" (= 4" finished +1-1/2" for seams) square. Cutting the square on both diagonals, yields four quarter-square triangles for the center. Stitch a HST on each short side of the QST, pressing the seams toward the HSTs. These are challenging seams to sew because the fabric edges are on the bias. It is very easy to stretch them out of shape. That is why, if at all possible, I do not make flying geese using this method. An advantage of this method is that there is no wasted fabric as long as you are making four units with the same center fabric. Single flying geese unit using 2 squares and a rectangle Another method for making a single unit involves some fabric waste. The pieces needed are two squares for the end pieces that measure the unfinished height desired. The rectangle for the center mesures the unfinished width and height of the unit. For a finished unit measuring 3" x 6", the unfinished size is 3-1/2" x 6-1/2". The squares needed will be 3-1/2" x 3-1/2" and the rectangle 3-1/2" x 6-1/2". On the back of each square, mark the diagonal from one corner to another. You can either physically mark or press the line. Pressing could be simply finger pressing or using an ironing. The important thing to keep in mind is that you do not want to stretch the fabric. When pressing, fold the wrong sides together. Once marked, lay a square on the rectangle, lining up the edges at one end. Stitch along a thread or two toward the corner of the unit along the marked line. Press the square to the outside. The edges of the square should meet up and align with the edges of the rectangle. Trim the seam to 1/4" being careful to NOT cut the top layer that is part of your flying geese unit. Repeat with the other square on the other end. Be sure that the square is oriented so that the seams will cross at the top of the unit. After trimming, you should have a flying geese unit with an unfinished size of 3-1/2" x 6-1/2". |


