|
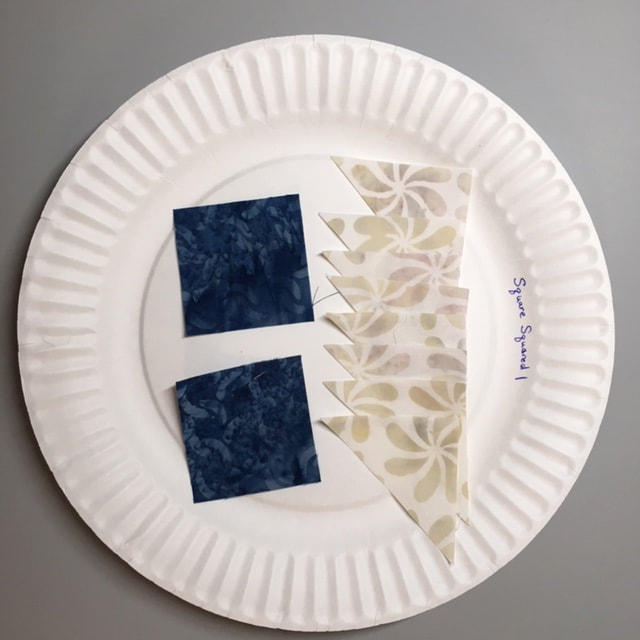
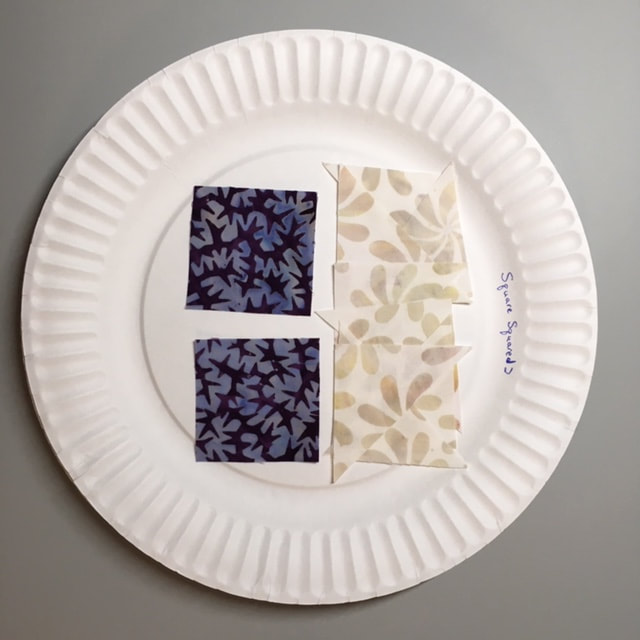
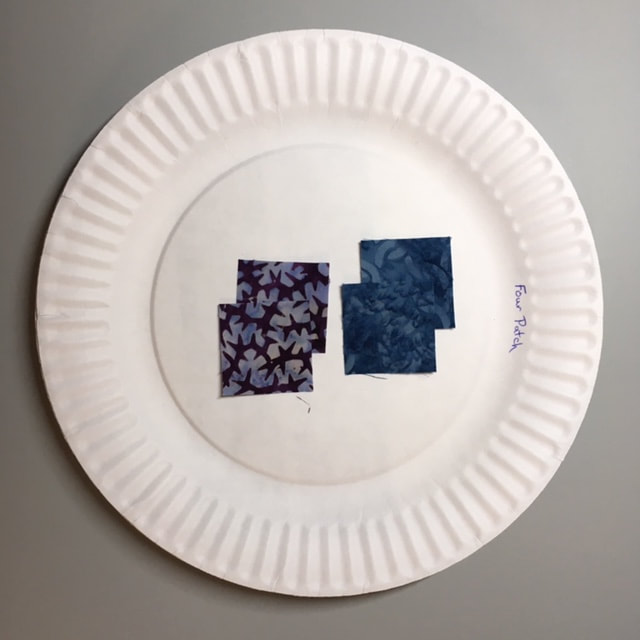
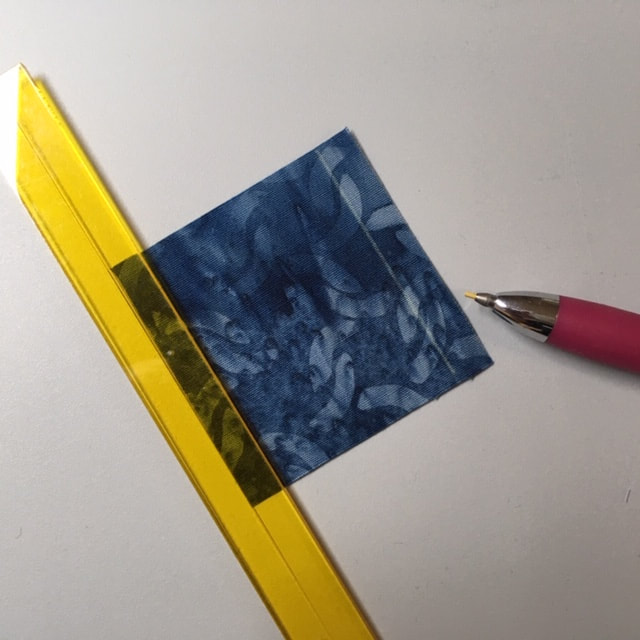
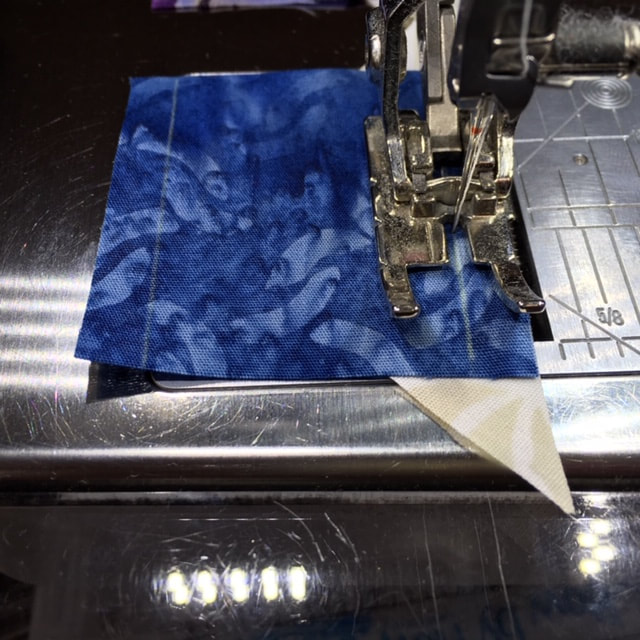
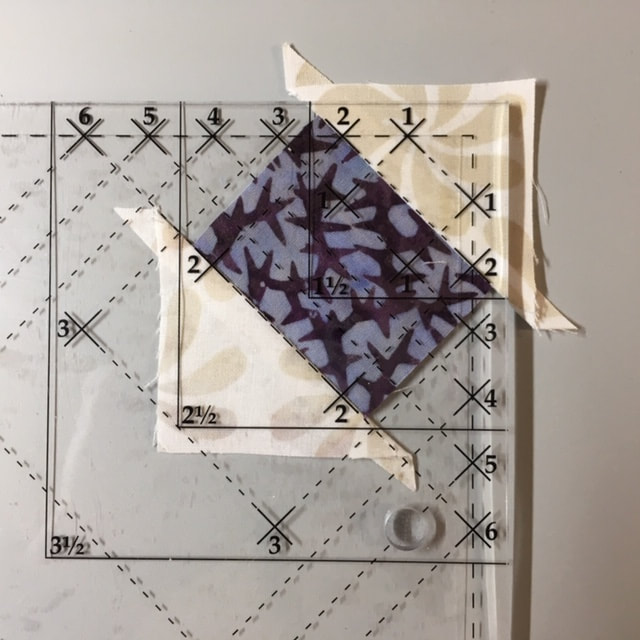
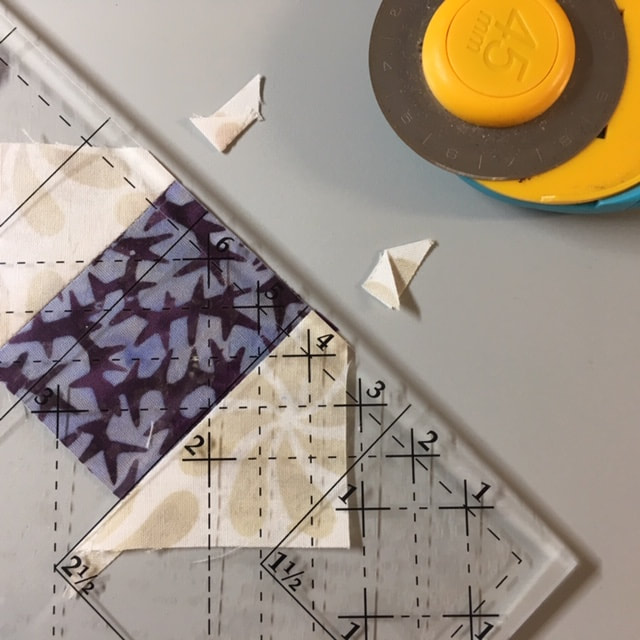
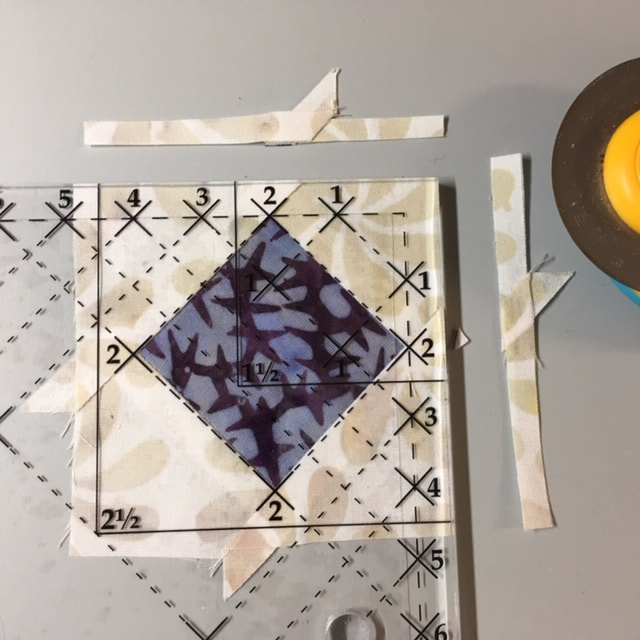
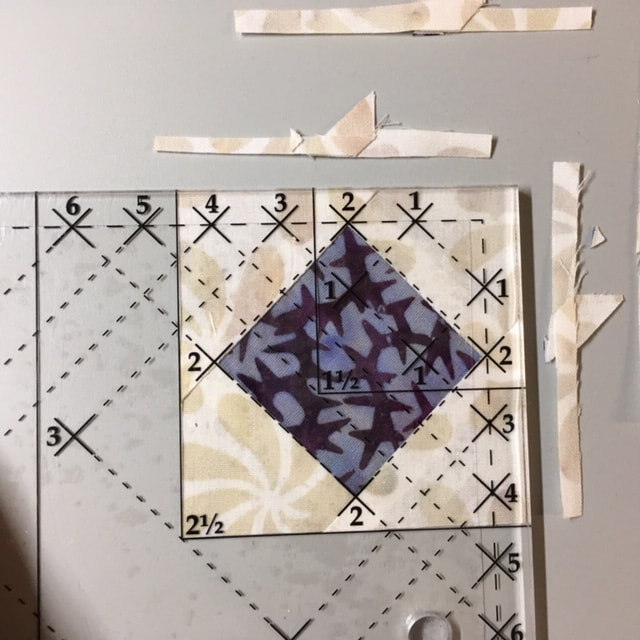
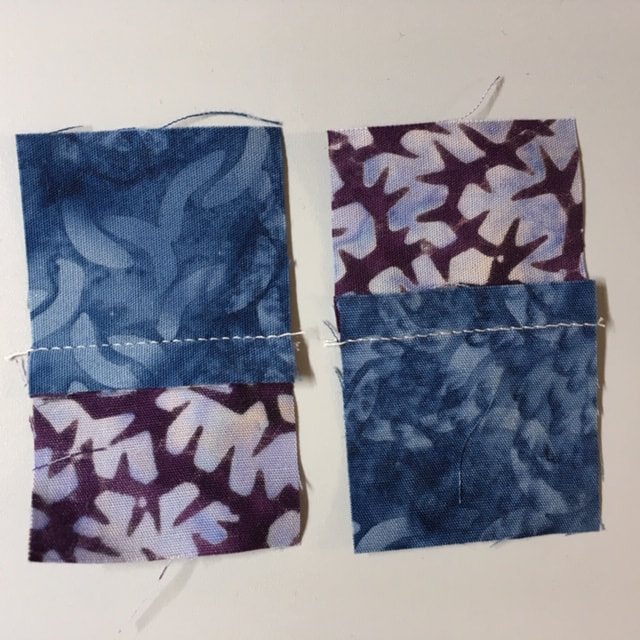
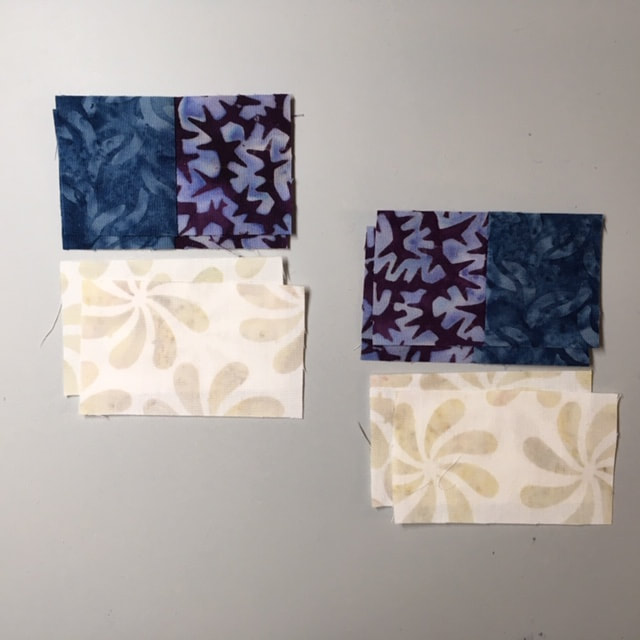
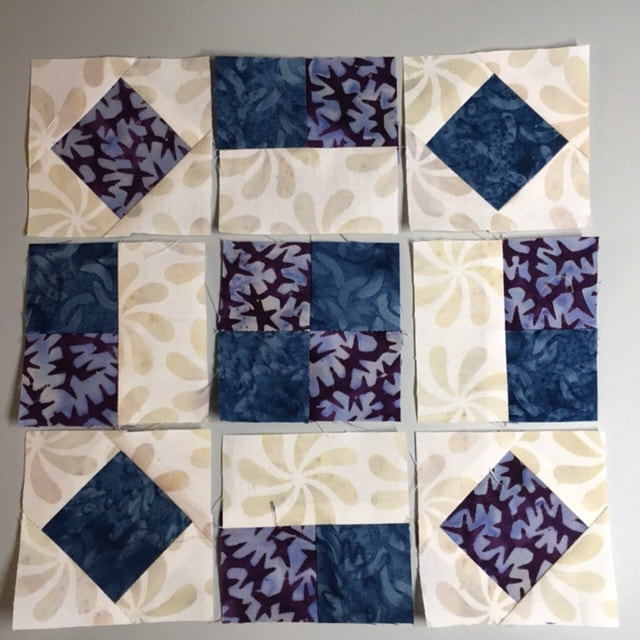
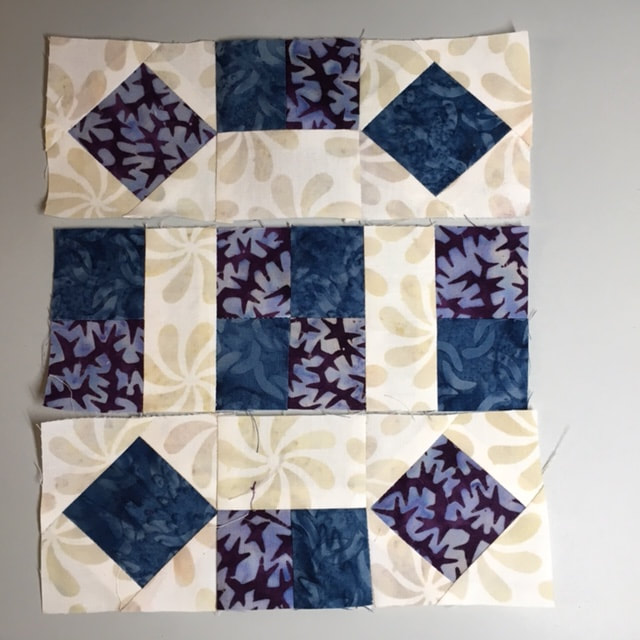
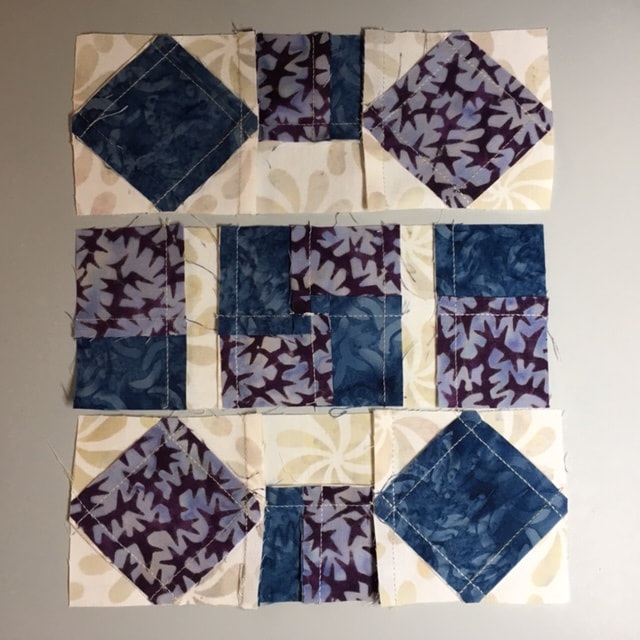
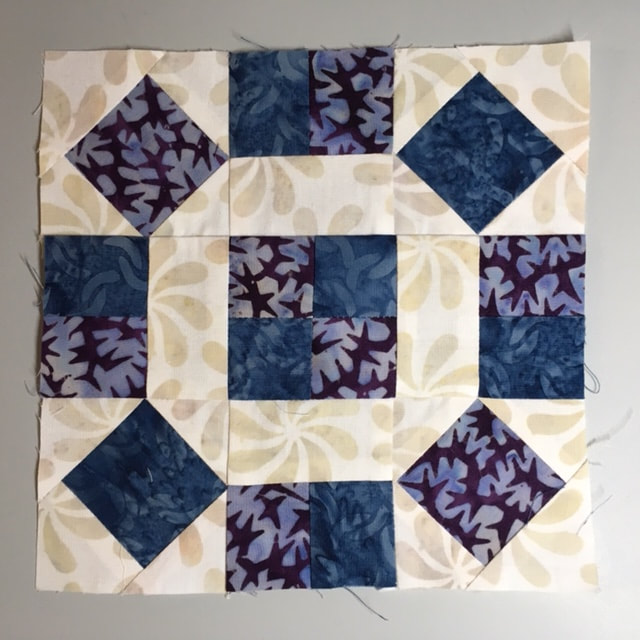
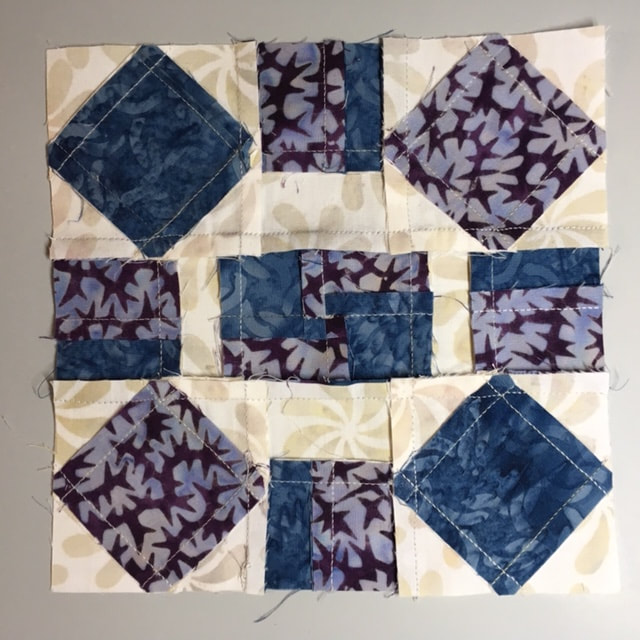
Oh, goody! It's my turn for the Whistle Stop Tour blog hop. I am sharing today with my fellow Studio 180 Design Certified Instructor, Tina Dillard, Quilting Affection Designs. Tina is sharing today's 12" block - Hidden Blooms. My block to share is the 6" Rolling Stone. In addition to the pattern download, I am going to walk you through the piecing of this fun block. First thing to do is to cut the fabrics as described and get organized. I like to use the paper plates as described earlier in this blog hop. I used a plate for each section in the cutting chart. Next I pieced the 2" finished square squared units. Don't forget to trim the center squares with your Square Squared tool unless you'd like to give your seam ripper a workout. If you have trouble getting the seams correct, try using your Quilter's Magic Wand to mark the stiching lines on the back of the center square. This has the added advantage of reminding you to keep the precision cut center square on the top as you stitch. Once two triangles are sewn on and pressed away from the center square, I like to check my seams are correct. I orient the unit with the added triangles oriented diagonally so I can lay my tool onto the unit as though I were going to trim. Those nice dashed lines should be right on the seams. Excellent! I then use the edge of the tool to trim off the dogears. Finally once the remaining 2 triangles are sewn and pressed away from the center square, two sides are trimmed. Rotate the unit 180 degrees and trim the remaining two sides. Repeat these steps until you have the 4 square squared units finished - 2 blue and 2 purple. Now on to the four patch. After stitching the squares in pairs, press each pair to the same fabric so you can nest the seams to sew the four patch. I also furl the seam on the back. Unfortunately, I forgot to take that picture. Sorry about that! To make the rail patches, first sew the strips together and press the seam to one side. Then cut the segments needed for the units. Now that all of the units are made, layout out the pieces. Just watch the orientation because you want 2 with purple on the left and 2 with purple on the right. Then sew the rows, pressing toward the rail patch units. Notice in the picture of the back of the rows, you can see the little four patch that appeared when I furled the seams. Two more seams sewn and the block is done. I also showed the back of the block so you could see how I pressed the seams. Voila! There you have it - Rolling Stone. For your reference, the scheduled stops on the Whistle Stop Tour are:
Monday September 9th
|
Archives
June 2023
Categories |


 RSS Feed
|
|
|